Arch Linux Installation (with full disk encryption using TPM2 and Secure Boot)
#include metadata.h
// Created Jan 31, 2026
// Last updated Mar 14, 2026
Table of Contents
My preferred route for installing Arch Linux including full disk encryption (with TPM2-based automatic unlocking!) and Secure Boot support. This mostly exists just in case I ever have to do a full reinstall/just because I want to fully document my installation route.
Important: This is my own personalized installation guide for personal use. I do not recommend following this if you aren't me. Use the official installation guide instead.
This setup uses systemd-boot as the bootloader and boots from a signed unified kernel image (UKI) incorporating the kernel image, initrd, and kernel commandline in one file to reduce complexity (as a side benefit, the initrd and kernel commandline are also validated by Secure Boot).
Warming up
Download the latest ISO and follow the instructions on that page to verify it. Then put it on a USB drive to boot it either using Ventoy or by writing it directly to the USB drive (see the relevant ArchWiki page for more info).
Boot the installation media. After it boots up, you'll be greeted by the ArchISO prompt: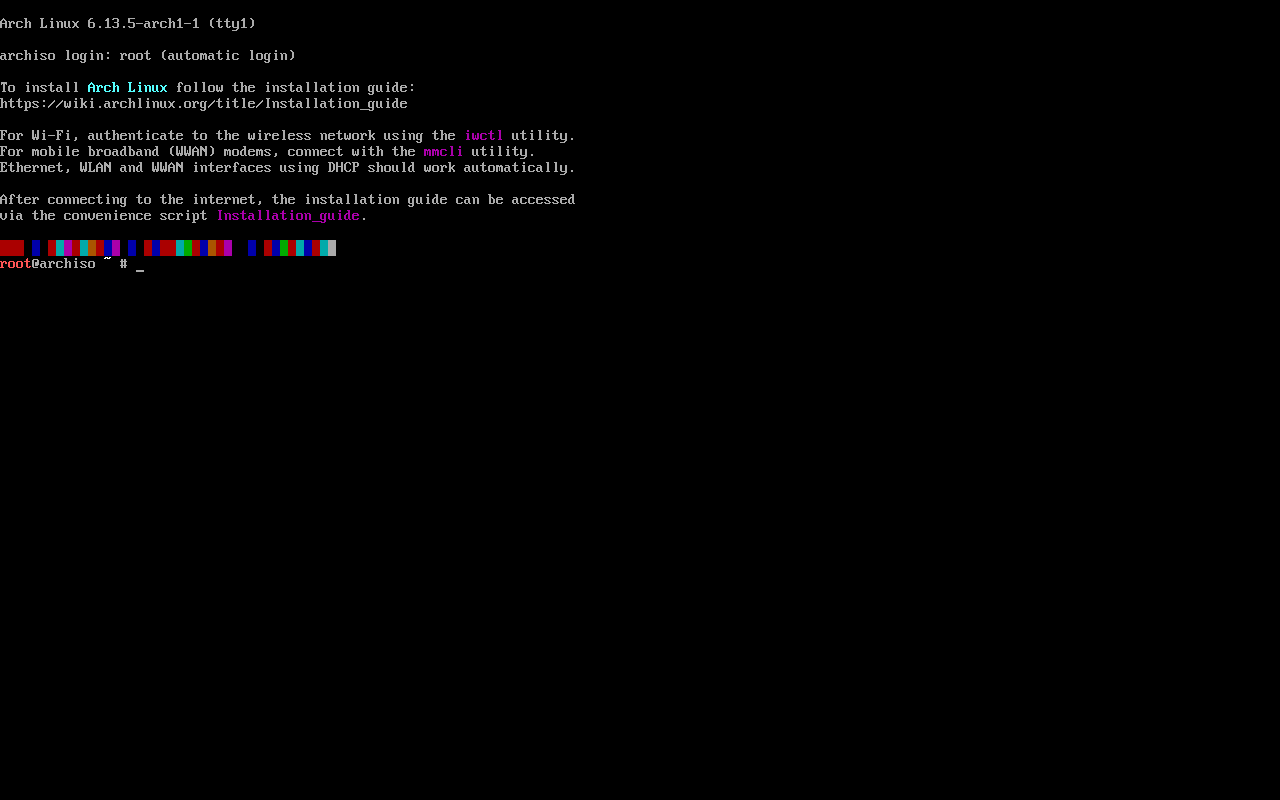 The Arch Linux ISO doesn't support Secure Boot, so it must be disabled before booting it.
Set the console font if necessary (for example on not-quite-HiDPI laptop screens) and ensure you have Internet access as described in the installation guide.
Partitioning
See the installation guide and Partitioning#Partition scheme for more details.
Below is my preferred partitioning scheme (GPT/UEFI). I use swap on zram and a larger swap file for hibernation (if hibernation is desired). Also note that for an NVME drive the partitions will be /dev/nvme0n1p1 for the ESP and /dev/nvme0n1p2 for the root partition. I honestly don't put too much stock in the partition numbers though since they often end up being completely different due to dual-booting shenaniganery. Use lsblk to ensure you've got the partitions straight :)
| Mount point | Partition | Partition type GUID | Suggested size |
|---|---|---|---|
/efi |
/dev/sda1 |
C12A7328-F81F-11D2-BA4B-00A0C93EC93B: EFI system partition (uefi alias in fdisk) |
250MiB-1GiB |
/ |
/dev/sda2 |
4F68BCE3-E8CD-4DB1-96E7-FBCAF984B709: Linux x86_64 root |
Remainder of the drive. |
Create the partitions using, e.g, fdisk. Obviously all data on the drive will be erased so take appropriate precautions.
The root partition can be encrypted now using LUKS2. After booting into the new installation you can enroll your TPM2, generate a secure recovery key, and erase the password you create here.
# cryptsetup luksFormat /dev/sda2
# cryptsetup open /dev/sda2 root
Now the unlocked root partition can be formatted as ext4 (although other filesystems can be used).
# mkfs.ext4 -L "Arch Linux" /dev/mapper/root
The ESP has to be formatted as FAT32, unless re-using an existing one, then don't format it.
# mkfs.fat -F 32 -n "EFI" /dev/sda1
Mount the unlocked root partition to /mnt and the ESP to /mnt/efi.
Installing the base system
Generally refer to the official installation guide for this part. The following reflector command can be used to generate a good mirrorlist for the US:
# reflector --latest 10 --sort rate --country 'United States' --save /etc/pacman.d/mirrorlist
Anyways time to pacstrap the system. Suggested packages to install here (my choices plus some things beyond what the installation guide suggests):
base-develfor AUR packages and possibly other shenanigans- Userspace filesystem utilities: At a minimum,
dosfstools,e2fsprogs, andexfatprogs.ntfs-3gmight be wanted for NTFS (note that the kernel has a native NTFS driver now sontfs-3gis only required for creating/modifying NTFS's). If I ever get into Btrfs, obviouslybtrfs-progs. - I use
networkmanagerfor network/Internet access - Always
fastfetchfor good luck ;)
Configuration
It's now time to perform initial configuration of your installation.
Back in the day you had to generate /etc/fstab to handle partition mounting on boot but Systemd can automount partitions when they have the correct types (shown above in the partition layout). So you can skip generating it and continue on in the chroot.
I skipped setting up a swap space when partitioning since I use swap on zram and this is best set up at this stage once we're in the chroot. The easiest way to set this up is to install zram-generator and create /etc/systemd/zram-generator.conf with the following:
[zram0]
Yes, that's literally it.
For hibernation support (swap on zram doesn't support hibernation), create a swap file that is half the size of your RAM to start with. I rarely use hibernation though and it's best to avoid it entirely when dualbooting since that causes all sorts of weirdness.
Follow the installation guide from the "Time" section up until "Initramfs". I use systemd-timesyncd for time synchronization. For the "Network configuration" section, enable NetworkManager.service and install/enable firewalld.
As far as user accounts go, I prefer to lock the root account (preventing you from logging into it) and rely on sudo for root access. Sudo should already be installed (it's a dependency of base-devel). Configure it to give members of the wheel group admin privileges. Then add a user account that is in the wheel group and set a password for it. Finally lock the root account.
Also set up Plymouth.
Desktop environment
I currently use KDE Plasma because it's epic. Other supported DEs can be found on the Desktop Environment ArchWiki page.
To install a fully featured KDE Plasma session with my preferred KDE apps + Firefox as the web browser, run the following command:
# pacman -S plasma-meta kde-system-meta plymouth-kcm baloo-widgets breeze5 dolphin-plugins ffmpegthumbs kdeconnect kdegraphics-thumbnailers kdenetwork-filesharing kimageformats kio-admin kio-extras kio-fuse kwalletmanager phonon-qt6-vlc plasma5-integration qqc2-desktop-style icoutils iio-sensor-proxy libappindicator noto-fonts-emoji power-profiles-daemon qt6-imageformats thermald xdg-desktop-portal-gtk xsettingsd ark dragon elisa filelight gwenview kamoso kate kcalc kcharselect kdialog konsole kup markdownpart okular svgpart firefox
Don't forget to enable plasmalogin.service to actually boot into a graphical session.
For graphics drivers consult this handy table for Intel and AMD graphics (note that mesa which provides the basic graphics stack and OpenGL drivers is required by Plasma so is already installed):
| GPU brand: | Required packages for Vulkan and hardware video acceleration: |
|---|---|
| AMD | vulkan-radeon (hardware video acceleration is built into mesa) |
| Intel | vulkan-intel (Only supports Broadwell and newer GPUs)intel-media-driver (Broadwell and newer, recommended)libva-intel-driver (GMA 4500 through Coffee Lake, legacy driver)For QuickSync video, install libvpl and one of these packages depending on your hardware:vpl-gpu-rt (Tiger Lake and newer)intel-media-sdk (Broadwell through Ice Lake) |
While it's unlikely I will ever use an Nvidia GPU, if I do end up with one, see the Nvidia page on the ArchWiki.
Kernel/initramfs config
In order to boot successfully, make sure the HOOKS array in mkinitcpio.conf contains the following:
HOOKS=(base systemd autodetect microcode modconf kms keyboard sd-vconsole block sd-encrypt filesystems plymouth)
The fsck hook is skipped because systemd provides its own filesystem checking mechanism and it keeps the console output while booting to a minimum.
Follow the instructions at Unified kernel image#mkinitcpio to set up UKI generation. Do not regenerate the initramfs after finishing, as the required directory on the ESP hasn't been created yet. For the kernel command line create /etc/cmdline.d/silent.conf containing the following:
quiet loglevel=3 systemd.show_status=auto rd.udev.log_level=3 splash"
And /etc/cmdline.d/disable-zswap.conf since we're using swap on zram:
zswap.enabled=0
Systemd's GPT partition automounting mechanism will automatically find, unlock, and mount the root partition, don't worry about it.
Finishing up
There's only a couple more steps!
Install systemd-boot as the bootloader. Systemd-boot automatically picks up UKIs on the ESP, so no further configuration is required to boot. At this point, you can regenerate the initramfs as well (which will build a UKI and place it on the ESP).
At this point we need to get Secure Boot enabled, so it's time to reboot into the new installation. Make a quick detour into the BIOS to put Secure Boot in setup mode so keys can be enrolled. After logging in to the new install, make a fastfetch screenshot for good luck before proceeding.
I use the method described here for enabling Secure Boot.
Once Secure Boot is enabled, now we can enlist the help of the TPM2 to ensure a smooth boot process with no pesky password prompts to unlock the root partition. Use systemd-cryptenroll to add a recovery key, enroll the TPM2, and wipe the password created earlier.
It might be a good idea to set up a PCR policy rather than binding to plain PCR values since the former is more flexible. This requires the use of systemd-ukify to set up binding the key to a policy that verifies the UKI.
Generate a policy signing key:
# ukify genkey \
	--pcr-private-key=/etc/systemd/tpm2-pcr-private-key.pem \
	--pcr-private-key=/etc/systemd/tpm2-pcr-public-key.pem
Create /etc/kernel/uki.conf containing the following to use the PCR policy:
[PCRSignature:initrd]
PCRPrivateKey=/etc/systemd/tpm2-pcr-private-key.pem
PCRPublicKey=/etc/systemd/tpm2-pcr-public-key.pem
Regenerate the initrd and the new UKI now makes use of the PCR policy. The last step is to enroll the TPM2 with the PCR policy:
$ sudo systemd-cryptenroll /dev/sda2 --recovery-key
$ sudo systemd-cryptenroll /dev/sda2 --wipe-slot=password --tpm2-device=auto
The TPM2 will release the key, allowing unattended boot, as long as the UKI isn't tampered with externally. Otherwise, the system will ask for the recovery key (this will also happen if the drive is moved to a new system).
I recommend rebooting to make sure this works.
Finishing touches
Now it's time to put some finishing touches on the installation. I use yay as my AUR helper, which supports the Apdatifier plasmoid (which can do some basic package management stuff but most importantly makes it way easier to keep your system up to date).
To install yay, open a terminal and navigate to a directory where you won't mind having an AUR package compiled. Your user account needs read/write permissions on it. Then run the following:
$ git clone https://aur.archlinux.org/yay.git && cd yay
$ makepkg -sci
I also like to add the Chaotic-AUR repository to my systems as it provides prebuilt AUR packages. It doesn't provide every AUR package but it provides quite a few and is nice to have.
Now, here's all the other apps I like to install:
$ yay -S --needed digikam discord easyeffects ghostwriter goverlay kdenlive keepassxc krita ktorrent lact libreoffice-fresh mangohud modrinth-app-bin obs-studio octopi spotify steam visual-studio-code-bin
And finally my Plasma dotfiles. Follow the instructions on the repository and that will about do it (currently the panel layout isn't done automatically though).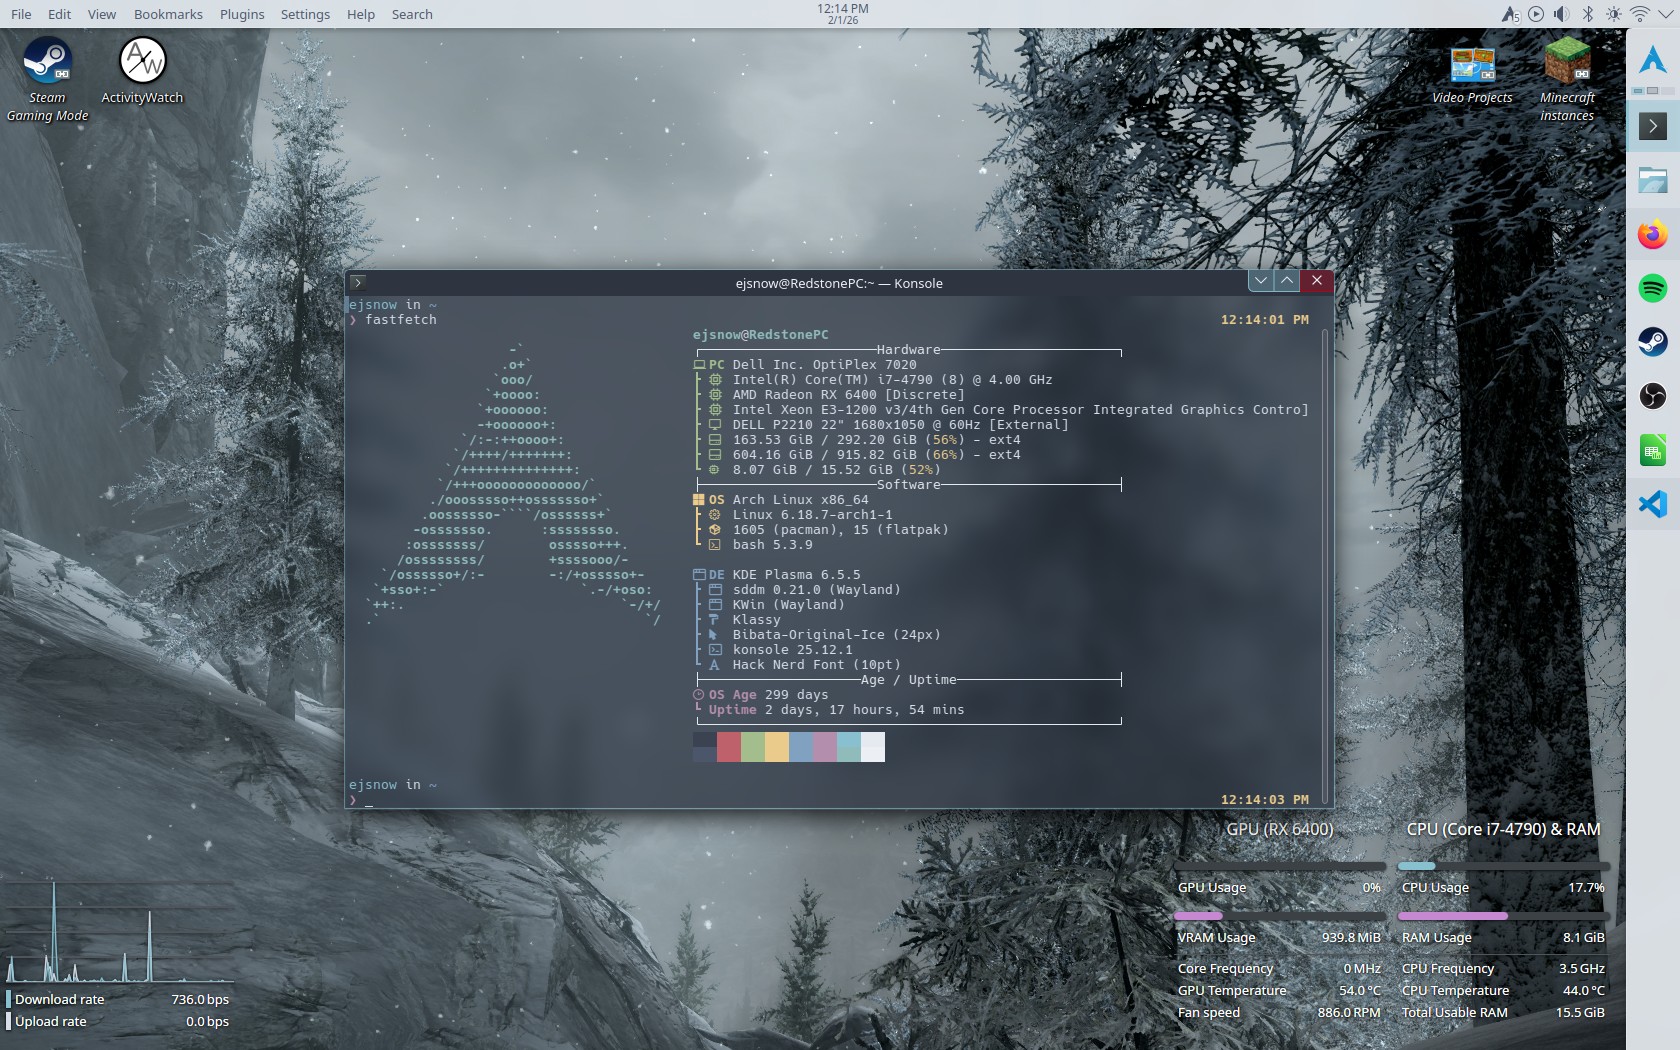
References
I wrote this with the help of MANY ArchWiki pages and a few manpages. Seriously the ArchWiki is amazing, go check it out.
- The official installation guide (The basic skeleton for this page)
- This example for encrypting your installation (I basically lifted the encryption instructions from there)
- mkfs.ext4 manpage (mostly for adding a filesystem label when formatting)
- mkfs.fat manpage (Same as above)
- Reflector examples (Used this to build the mirrorlist generator command)
- Swap on zram
- Hibernation
- AMD graphics (AMDGPU) (For the required packages table in #Desktop Environment)
- Intel graphics (same as above)
- Hardware video acceleration (Same as above lol)
- Trusted Platform Module#PCR policies (For using a PCR policy to seal the disk encryption key)
- Installing AUR packages (For installing yay at the very end)